Client Incident Report Export
The Client Incident Report Export, available from the Reports menu, allows staff to search and filter Client Incident records, preview the matching results on-screen, and download detailed Incident information in a CSV file.
- Pull Client Incident data into spreadsheets for custom reporting, sorting, and filtering
- Aggregate Client Incident information for board reports, NDIS Quality and Safeguards Commission reporting, or internal review
- Combine Client Incident data with other data sources for trend analysis
Summary
The following list summarises the content of this article. Click on the links below to take you to the relevant sections:
- Who can access the Report Export
- How to access the Report Export
- Report Search Filters
- Previewing the Report Results
- How to export the Report results
Who Can Access the Report Export
The Client Incident Report Export is accessible to all staff. However, the data returned is restricted based on your access level:
- You will only see incidents for clients you have access to.
- NDIS access rules apply — staff providing specialised services such as Financial Plan Management (FPM) and Support Coordination (SC) will see incidents according to the access permissions configured for their role.
- Managers Only incidents set to 'Managers Only' are only visible to staff with manager-level access.
How to Access the Report Export
Navigate to the Reports menu and in the Client Records section select Client Incident Report Export:

Report Search Filters
Select the relevant options from the available search criteria:
- Incident Date From/To - Set a date range using a From and To date to return incidents that occurred within that period
- Client - Select one or more specific Clients to return only their incidents, or leave blank to include all Clients you have access to
- Type - Filter by a specific incident type, or leave as All Types
- Category - Filter by a specific incident category, or leave as All Categories
- Client Incident Tag - Select one or more Client Incident Tags to return only incidents matching those Tags, or leave blank to include incidents regardless of Tag
- Sites - Select one or more specific Sites, or leave All Active Sites selected
- Services - Select one or more specific Services, or leave All Active Services selected
Once your filters are set, select Generate Report:

Previewing the Report Results
A count of matching records is displayed above the results (e.g. Showing Client Incidents 1–10 of 10).
- ID - linking out to the Client Incient record
- Client (first and last name)
- Date
- Type
- Category
- Description
- Site
- Service
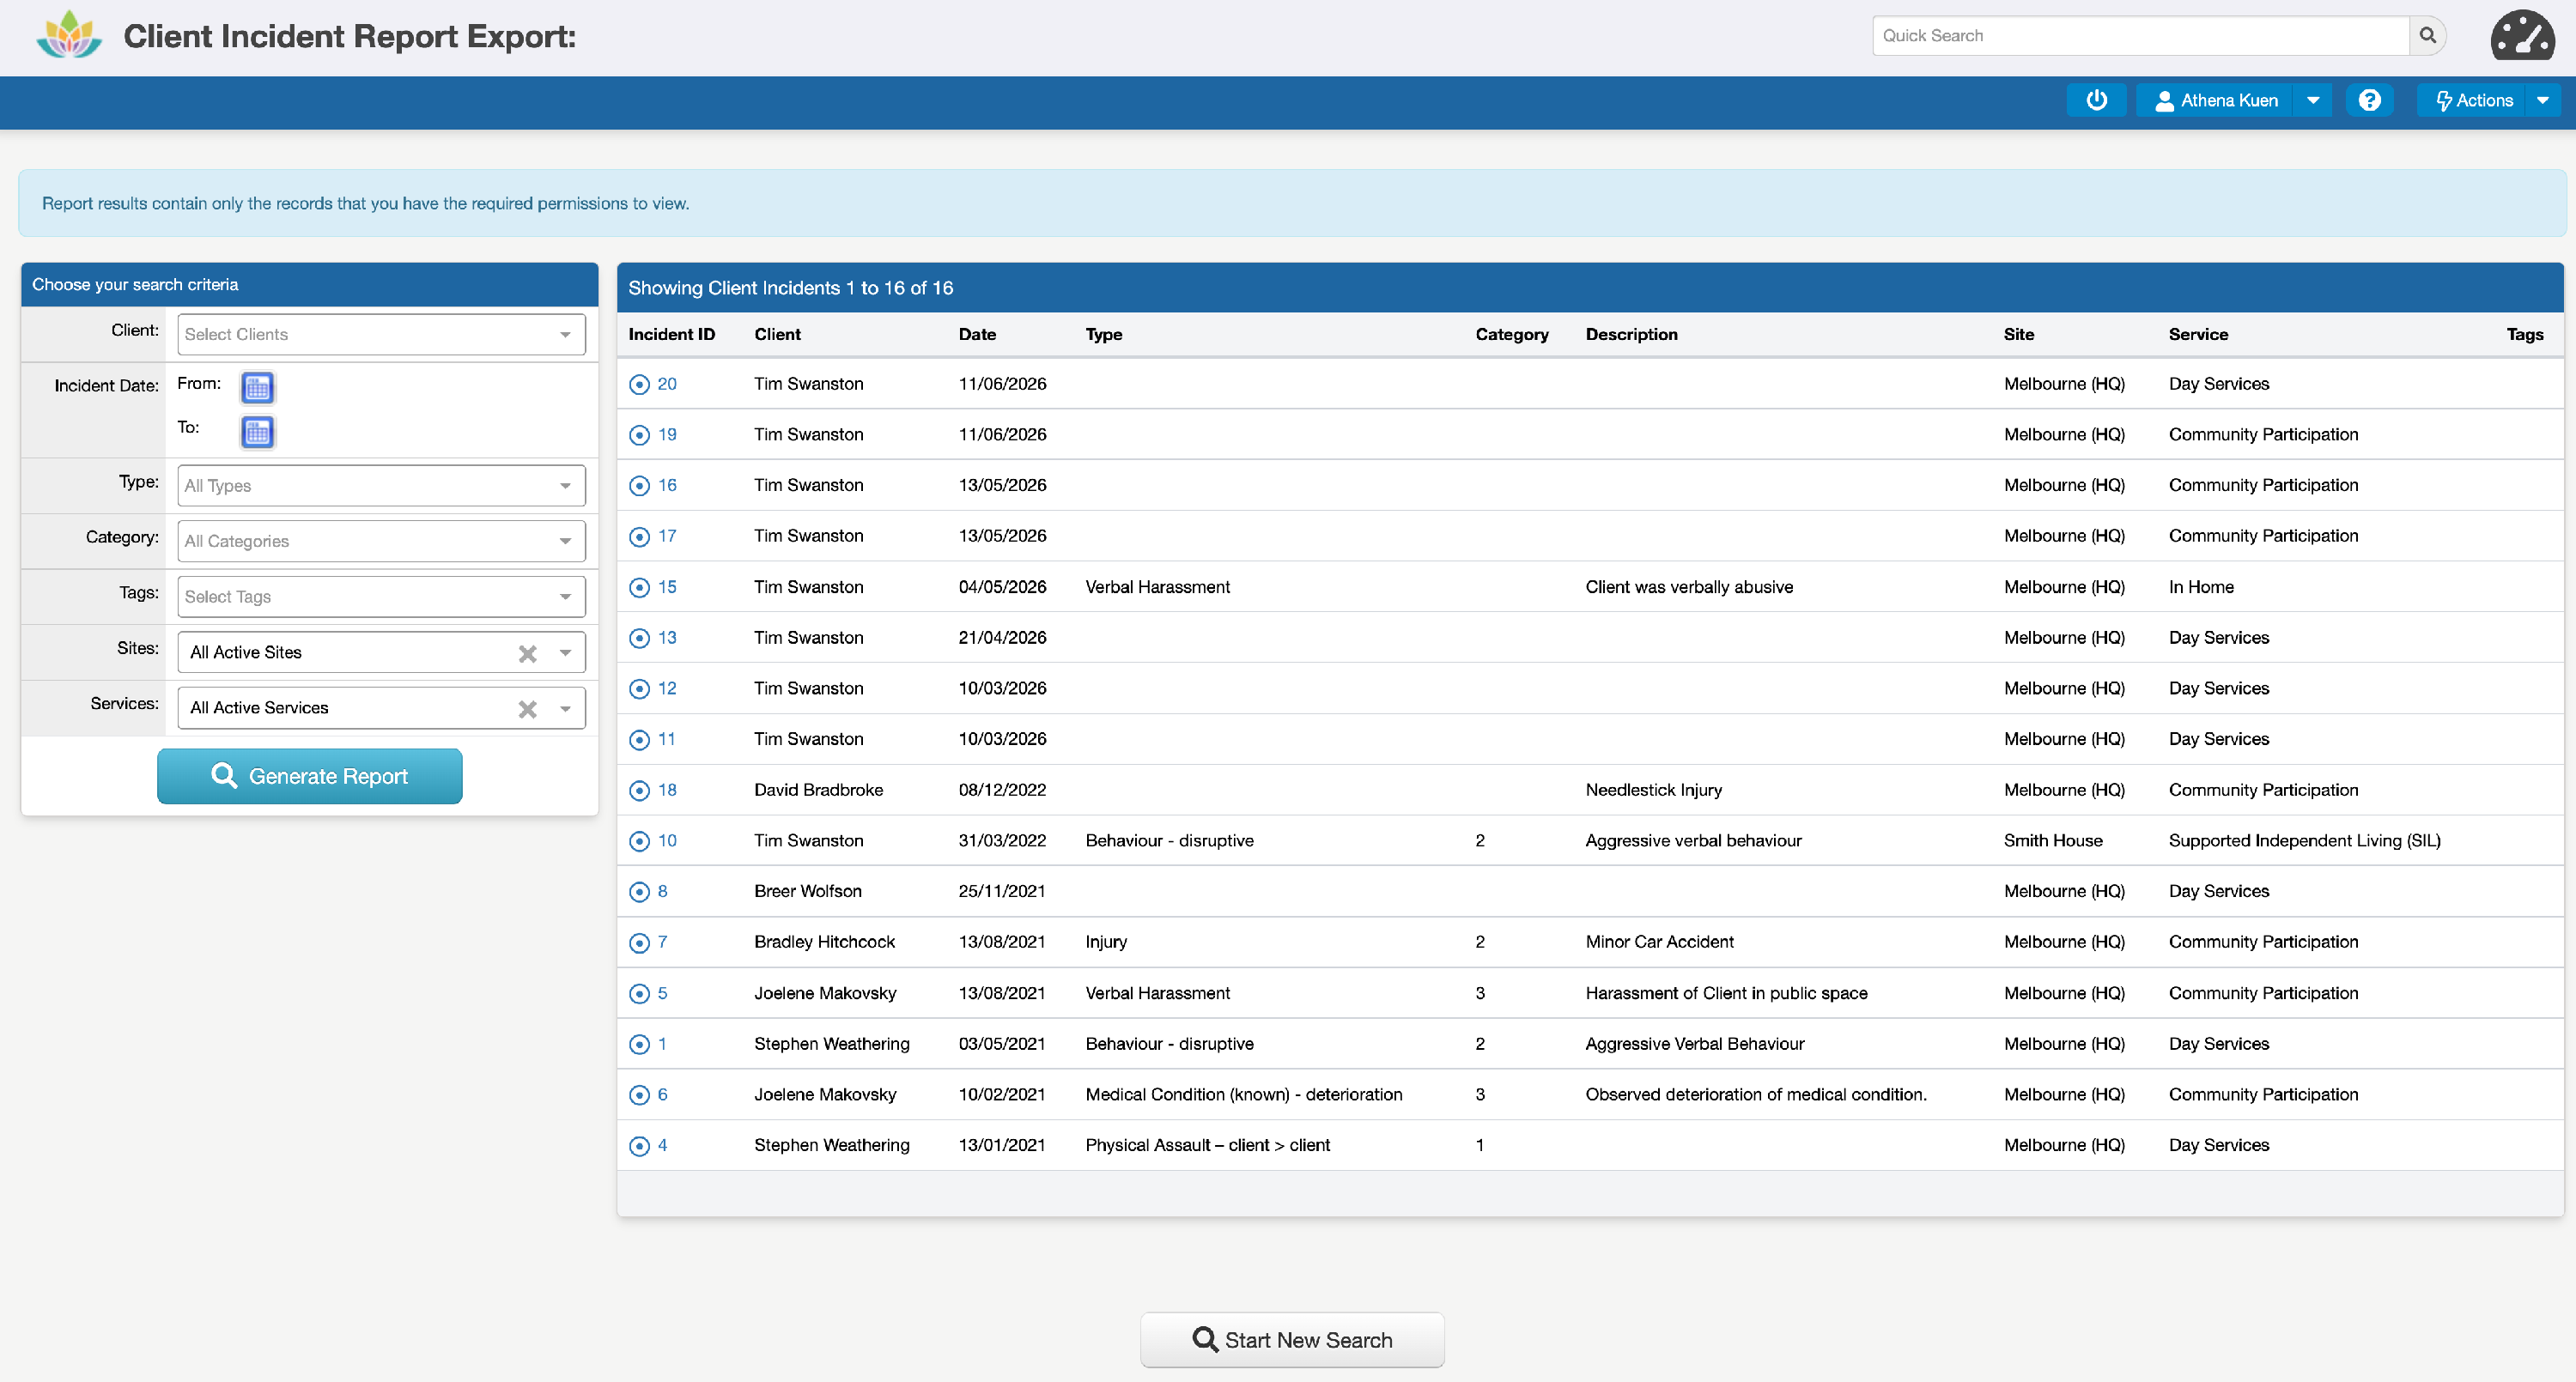

If the results contain more records than the maximum displayed per page, the results are paginated, and additional records can be accessed via the numbered tabs below the results.

How to Export the Report Results
To export the results to a CSV file, select Client Incident Report Export from the 'Actions' menu:

The export file contains detailed information about the Incidents, including the following columns of information:
- Incident ID
- Client First Name
- Client Last Name
- Incident Date
- Incident Time
- Type
- Category
- Location
- Description
- What Happened
- Precursor
- Response
- Outcome
- Duration of Incident (mins)
- Duration of Recovery (mins)
- Recovery Activities
- Person Observing
- Managers Only (Yes/No)
- Site
- Service
- Recorded By