How to add or update Personal Contacts and link Shared Contacts in the Client Contacts tab
Any Personal Contacts related to the Client e.g. family members or their NDIS Nominee, are added to the Client's Contacts tab so that your organisation has a record of important people in relation to the individual. Each Client is their own Primary Contact and Billing Contact by default, however, this can be updated to the relevant Personal Contact here also as required.
Adding Personal Contacts to the Client's Contacts tab ensures this information is available in the relevant print reports e.g. Emergency Information Form and the Personal Information Form and in the 'Download Client List including Personal Contacts' Client Search List export. These records can also be reported using the Client Personal Contact Search available in the Client Reports section of the Reports menu.
In addition to Personal Contacts, any relevant Shared Contact records e.g. an NDIS Financial Plan Manager or a Physio, can be linked here as required.
Personal or Shared Contacts can be made inactive or deleted when they are no longer relevant.
This article outlines how to add or update a Personal Contact in the Client's Contacts tab, as well as how to link a Shared Contact record.
Audience: All
Summary
The following list summarises the content of this article. Click on the links below to take you to the relevant sections:
Personal Contacts
Personal Contacts is where any important individuals that are personal contacts associated with the Client can be added:

This may include the Client's Primary Contact, NDIS Nominee, Next of Kin, or any other important person in the Client's life your organisation may need to liaise with.
How to add a Personal Contact
To add a Personal Contact, select the Add Personal Contact button:

This creates a new Personal Contact record under any existing records:

Most of the fields and checkboxes are optional, however, the fields that are highlighted with an amber underline indicate the information that must be entered in order to deem the Client's record complete. When this information is missing, an Incomplete Client Record Warning will display in the Warning bar at the top of the record.
The relevant details can be added regarding the Client's Personal Contact. For example, Patrick Makovsky is our Client Joelene's Father and he is also her Primary Carer, therefore we have entered the relevant contact information and details, as well as selected the Emergency Contact, Primary Carer and Lives with Client checkboxes:

Only one phone number is necessary for a Personal Contact to meet the complete Client record requirement. For example, when we enter a Mobile Phone Number for Patrick the validation warnings disappear on the other phone number fields:

When a Personal Contact shares the same address as the Client, a checkbox is now available to indicate this. Selecting this checkbox prepopulates the Street Address information automatically:

Other additional information can be added such as general Notes, or any specific notes about what this person assists the Client with, Tags, or a Debtor ID for your finance system. Please note Debtor ID is only required if your organisation will be sending Invoices to this individual as a Debtor. If this is the case, we recommend setting this Personal Contact to being the Client's Billing Contact also, as outlined below.
Please note the Statistical Linkage Key (SLK) code populates for the Personal Contact that is set as the Client's Primary Carer via the relevant checkbox and is primarily used for HACC reporting.
How to adjust the sort order of Personal Contact records
To adjust the sort order of Personal Contact records, select the four arrows icon in the Sort column for the relevant Personal Contact record, then drag it into place. For example, if we would like Patrick to be listed first, select the icon and hold this:

Then drag it into your preferred position e.g. to the top of the list:

Remember to select 'Save Client' once this is in the preferred position to save these changes:

How to update Personal Contact Roles
Each Client is their own Primary Contact and Billing Contact by default, however, this can be updated to the relevant Personal Contact here also as required.

Primary Contact
To update Primary Contact, select the ‘Change’ button:
 Select who the Primary Contact should be for the Client from the list of Personal Contacts:

Then select OK:

This Personal Contact Role is now updated. However, it is important to remember to select 'Save Client' to save these changes to the record.

The Personal Contact is now set as the Client's Primary Contact and will appear in various Searches and Reports as outlined above.
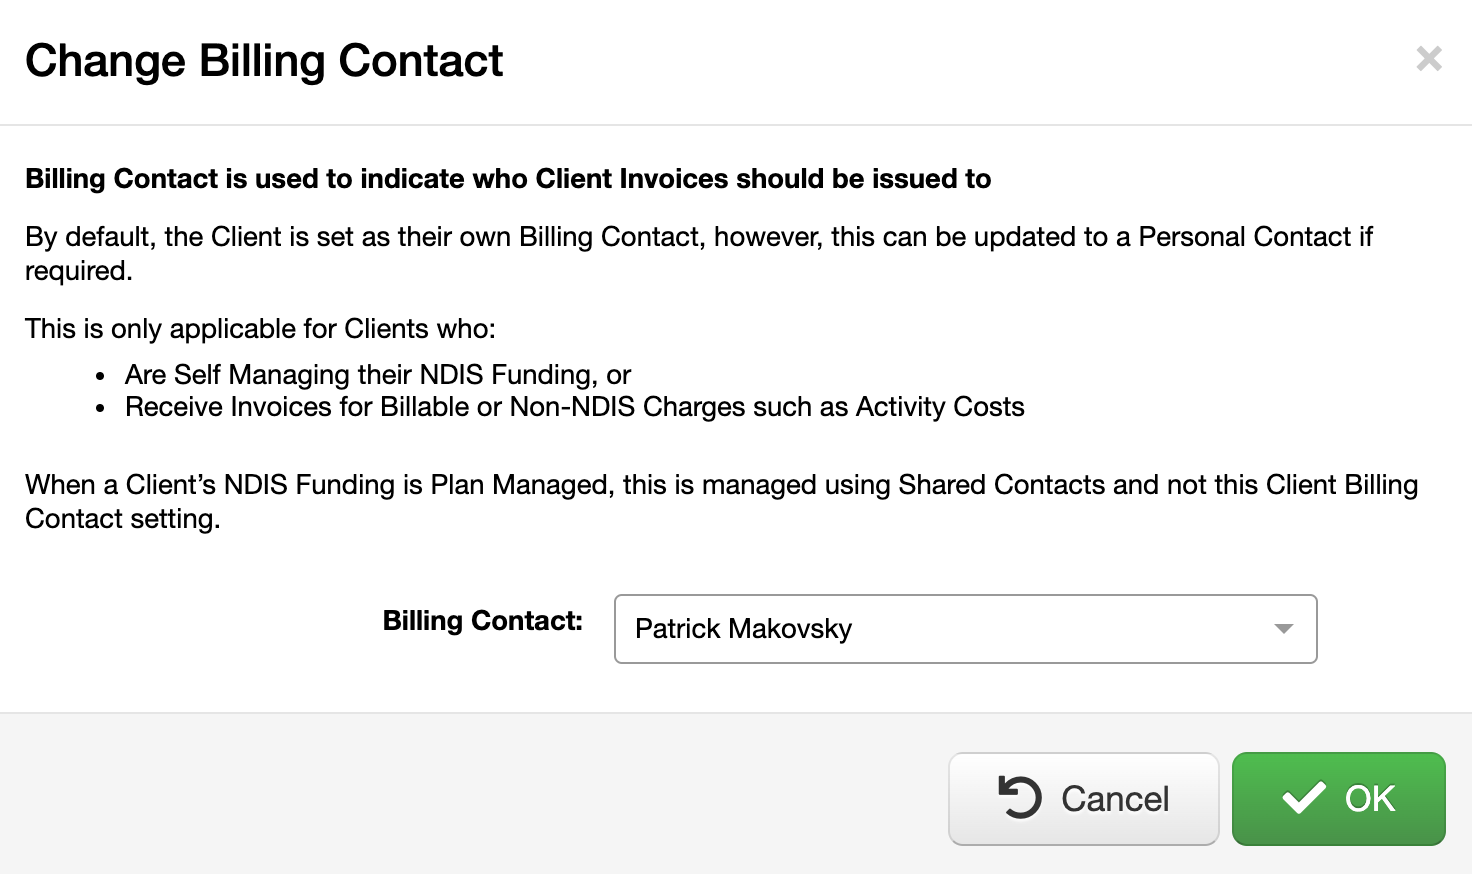
Billing Contact
- Is Self Managing their NDIS Funding, or
- Receives Invoices for Billable or Non-NDIS Charges, such as Activity Costs.
To update the Client's Billing Contact, select the ‘Change’ button:

Select who the Billing Contact should be for the Client:

Then select OK:
This Personal Contact Role is now updated. However, it is important to remember to select 'Save Client' to save these changes to the record.

The Personal Contact is now set as the Client's Billing Contact and will be used as the Debtor when Invoices are being issued to the Client and will also appear in various Searches and Reports as outlined above.
Please see the How to update the Client Billing Contact for Clients who need to be Invoiced article linked below for more information regarding this.
How to make a Personal Contact inactive
To make a Personal Contact inactive, select the contextual menu icon (three dots) on the right-hand side of the Personal Contact record and select 'Make Inactive':

This updates the Personal Contact record to inactive with a grey background. Remember to select 'Save Client' for these changes to be saved.

You may wish to utilise the Notes field to explain why this Personal Contact has been made inactive for reference.
N.B. When a Personal Contact is the Client's Primary Contact or their Billing Contact, or is the Debtor in any Direct Invoices, their record cannot be made inactive or deleted.
It is important to note that the sort order of the Personal Contacts does not change following this. Depending on where this is positioned, you may need to use the sort icon to move this to a more preferred position, such as the bottom of the list, as outlined above.
How to make an inactive Personal Contact active
If you wish to make an inactive Personal Contact active again, select the contextual menu icon (three dots) on the right-hand side of the Personal Contact record and select 'Make Active':

Select the 'Save Client' button to save these changes:

How to delete a Personal Contact
To delete a Personal Contact, select the contextual menu icon (three dots) on the right-hand side of the Personal Contact record and select 'Delete':

Remember to select the 'Save Client' button to save these changes:

N.B. When a Personal Contact is the Client's Primary Contact or their Billing Contact, or is the Debtor in any Direct Invoices, their record cannot be made inactive or deleted.
Shared Contacts
Shared Contacts is where any organisations or professionals that the Client is associated with can be linked:

This may include the Client's NDIS Support Coordinator, their NDIS Financial Plan Manager, their GP, Physio, or any other professionals that your organisation may need to liaise with in relation to the Client, that other Clients may also utilise too.
In order to link a Shared Contact, the Shared Contact record must already exist. Please see the How to add a Shared Contact record article linked below for more information regarding this.
How to link a Shared Contact
To link a Shared Contact, select the Link a Shared Contact button:

A search bar appears allowing you to search the available Shared Contacts for the relevant individual or organisation:

At least one character is required to initiate the search e.g. 'h':

This searches the company name of the Shared Contact record as well as the Primary Contact associated with it where applicable.
For example, when we typed 'h' City Cabs appeared in the search results. This is due to the Primary Contact John Ferrymore being configured in this record which includes this letter:

Once linked, the Company Name of the Shared Contact is displayed with a link to navigate to the record:

Additional information is also displayed, including the Type of Shared Contact record it is based on how this has been configured, as well as contact information and the Primary Contact Name where this has been configured.
Notes can be added to record the association with the Shared Contact and any relevant information as required:

Select the 'Save Client' button to save these changes.
How to make a Shared Contact inactive
To make a Shared Contact inactive, select the contextual menu icon (three dots) on the right-hand side of the Shared Contact record and select 'Make Inactive':

This updates the Personal Contact record to inactive with a grey background and automatically positions this at the bottom of the list:

Select the 'Save Client' button to save these changes.
How to make an inactive Shared Contact active
If you wish to make an inactive Shared Contact active again, select the contextual menu icon (three dots) on the right-hand side of the Shared Contact record and select 'Make Active':

Select the 'Save Client' button to save these changes.

How to remove a linked Shared Contact
To remove a linked Shared Contact altogether, select the contextual menu icon (three dots) on the right-hand side of the Shared Contact record and select 'Remove Link':
 This removes the linked Shared Contact and the record must be saved in order to save these changes:
